- Viewing and filtering orders.
- Create order.
- Updating order statuses.
- Managing customer information and order details.
Overview
In Shopper, orders are typically created when a customer completes the checkout process on your store. When a customer places an order from your store, on the admin panel, the order status is generated from where the admin can further process the order. However, you also have the ability to update the Order Component to create and manage orders manually through the admin panel. Orders are accessible to users with the appropriate permissions, ensuring that your store’s operations remain secure and organized.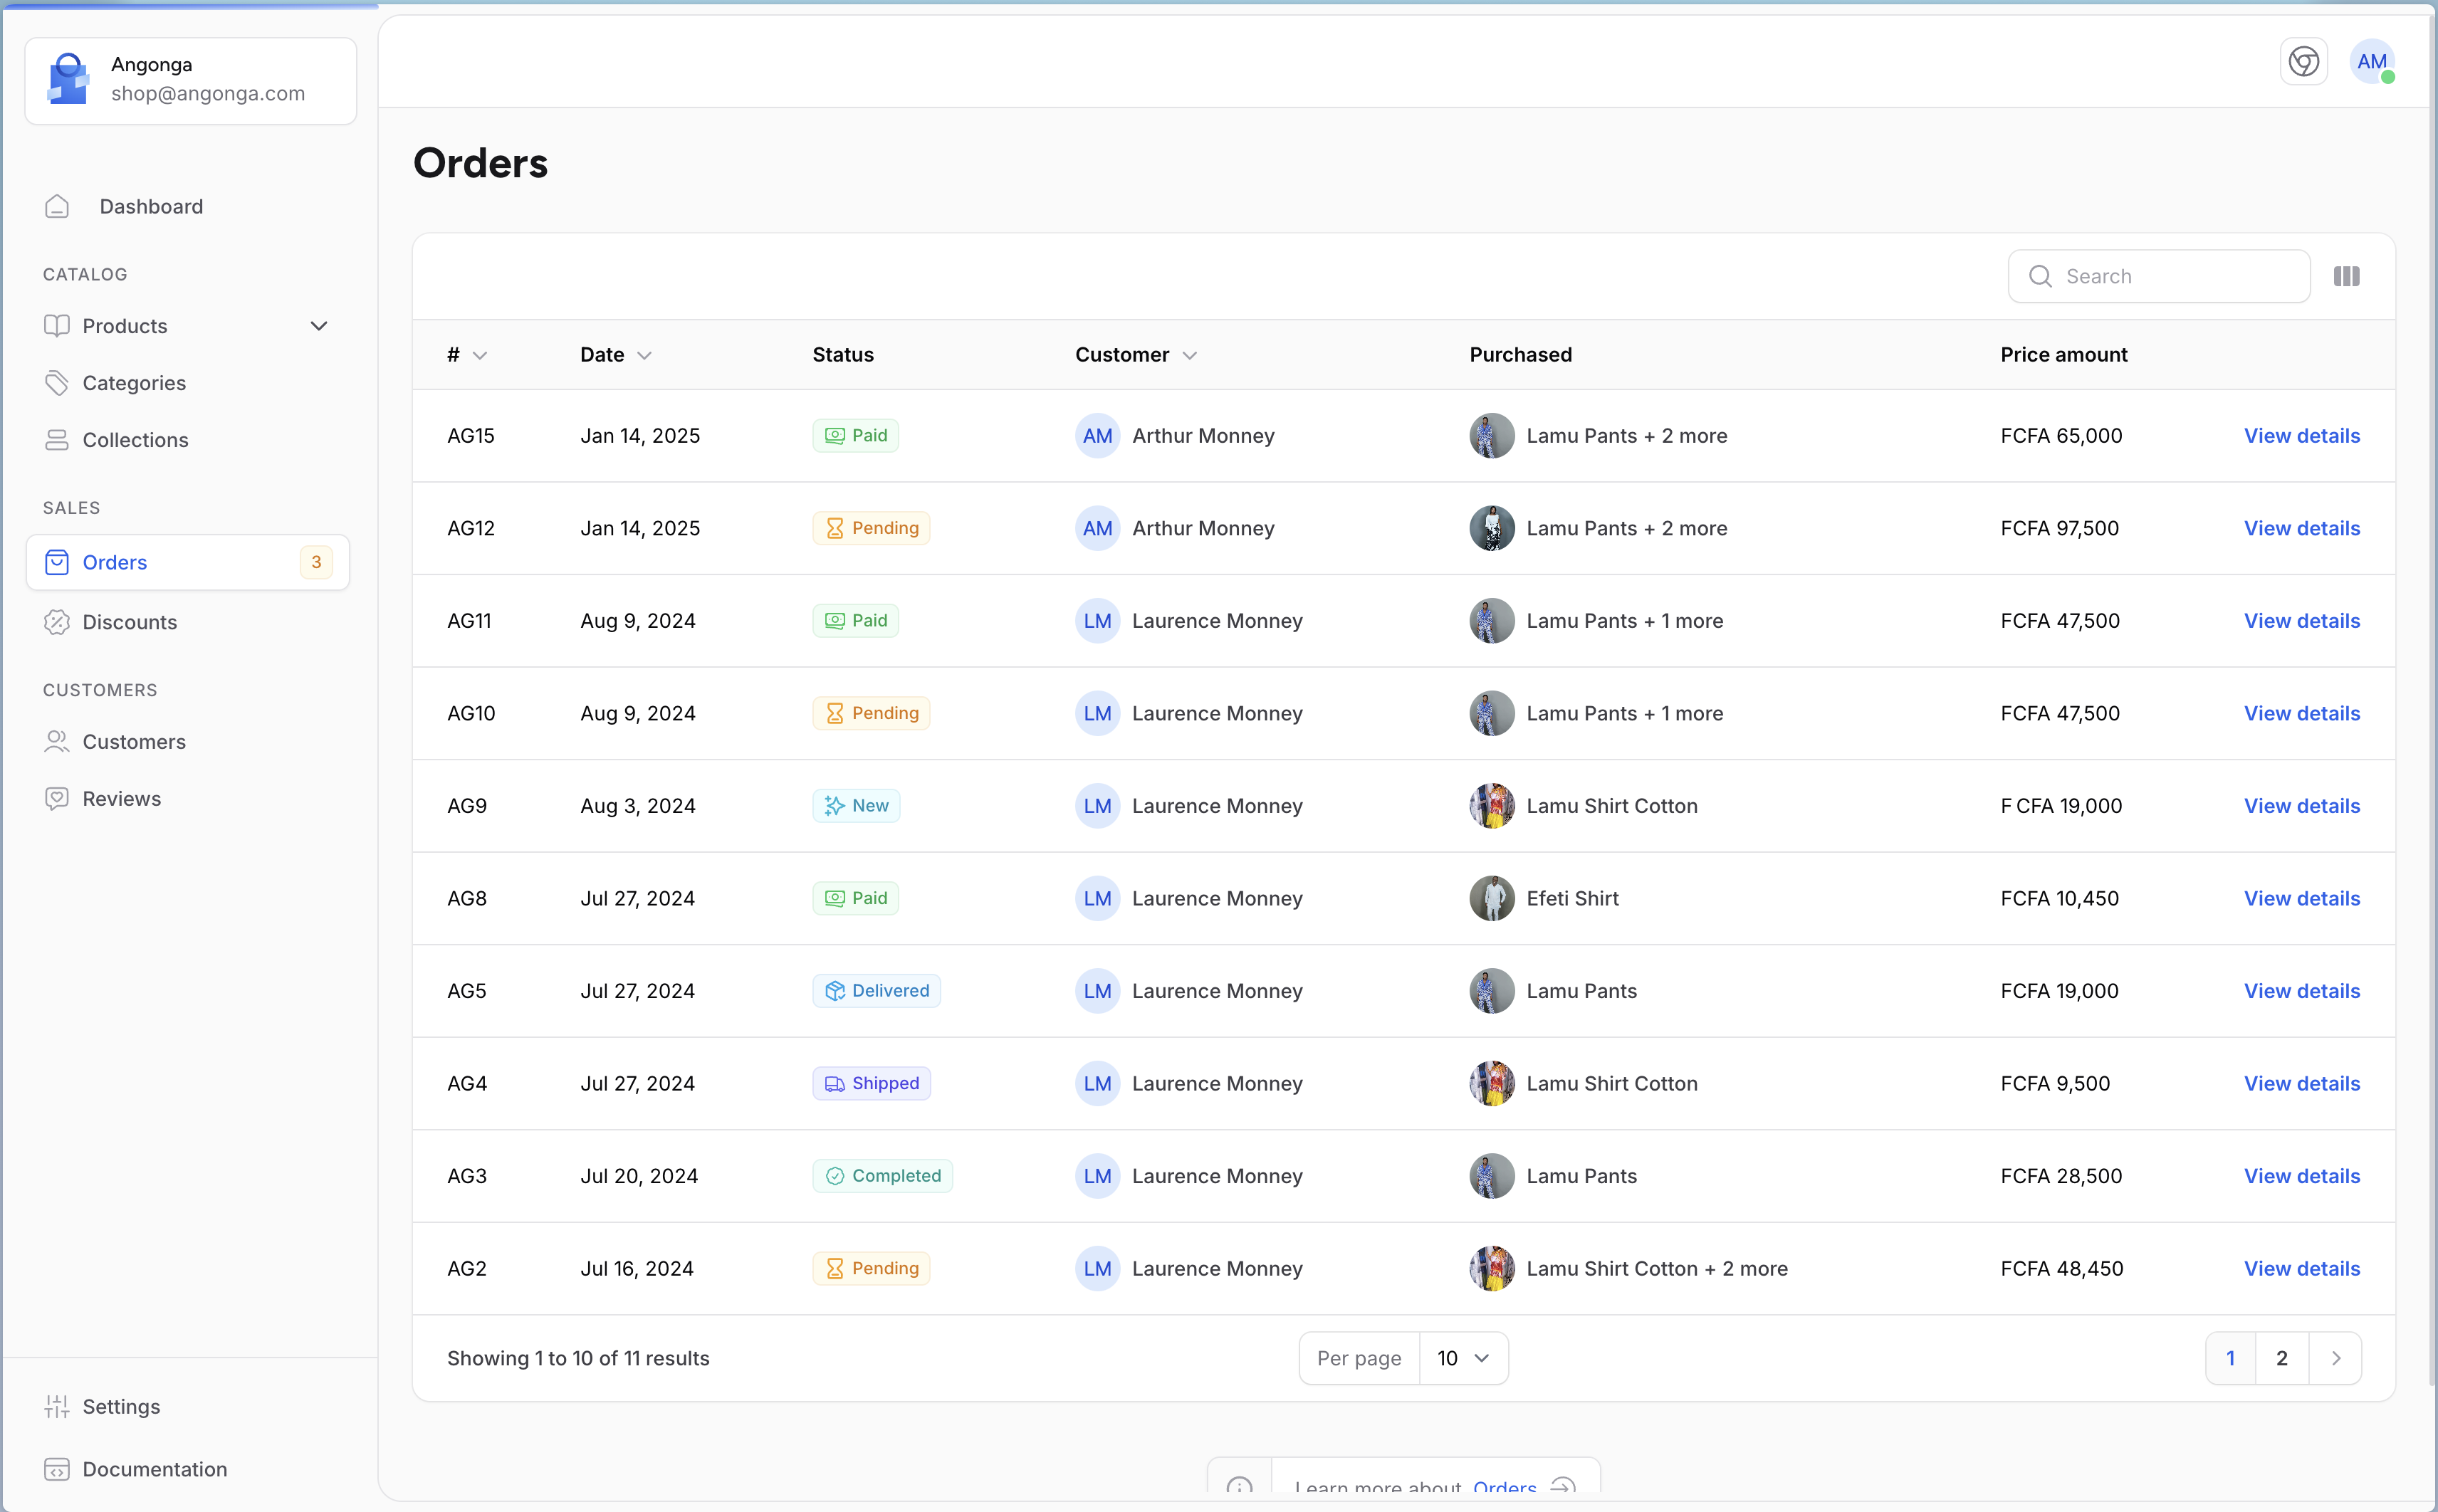
Orders
Models
Order management and processing in Shopper are powered by a set of Models that work together seamlessly. These Models represent the core entities involved in handling orders, from creation to fulfillment.- Order (
Shopper\Core\Models\Order) represents a customer’s purchase, including details like order status, payment method, and total amount. - OrderItem (
Shopper\Core\Models\OrderItem) tracks individual products included in an order, along with quantities and prices. - OrderAddress (
Shopper\Core\Models\OrderAddress) responsible for managing the shipping and billing addresses associated with an order - OrderRefund (
Shopper\Core\Models\OrderRefund) manages refund requests and processes, including amounts and reasons for refunds. - OrderShipping (
Shopper\Core\Models\OrderShipping)
Order
As mentioned above, initially on Shopper it is not possible to create orders from the administration area. Orders can only be placed from your customer site, and will be available and processed in your administration area. However, you have the option of publishing order-related components to customize them to your needs.Fields
| Name | Type | Required | Notes |
|---|---|---|---|
id | autoinc | auto | |
number | string | yes | Order number, can be generate using the generate_number() helper |
price_amount | int | no | The order price, if not set the price can be determine using the items price |
status | string | yes | [OrderStatus](#enums-types) Enum value |
currency_code | string | yes | |
notes | text | no | |
parent_order_id | int | no | int (Order object via the parent relation) |
payment_method_id | int | no | int (PaymentMethod object via the paymentMethod relation) |
channel_id | int | no | int (Channel object via the channel relation) |
customer_id | int | no | int (User object via the customer relation) |
zone_id | int | no | int (Zone object via the zone relation) |
billing_address_id | int | no | int (OrderAddress object via the billingAddress relation) |
shipping_address_id | int | no | int (OrderAddress object via the shippingAddress relation) |
shipping_option_id | int | no | int (CarrierOption object via the shippingOption relation) |
canceled_at | timestamp | no |
Create an Order
An order is created when a customer visits your online store, selects one or more products, and completes the checkout process. When a customer places an order through the storefront, the order details are automatically generated in the admin panel. From there, administrators can view, update, and process the order as needed.Front a storefront
Step 1 > Open the Product Detail page and Add the product to the cart as shown below.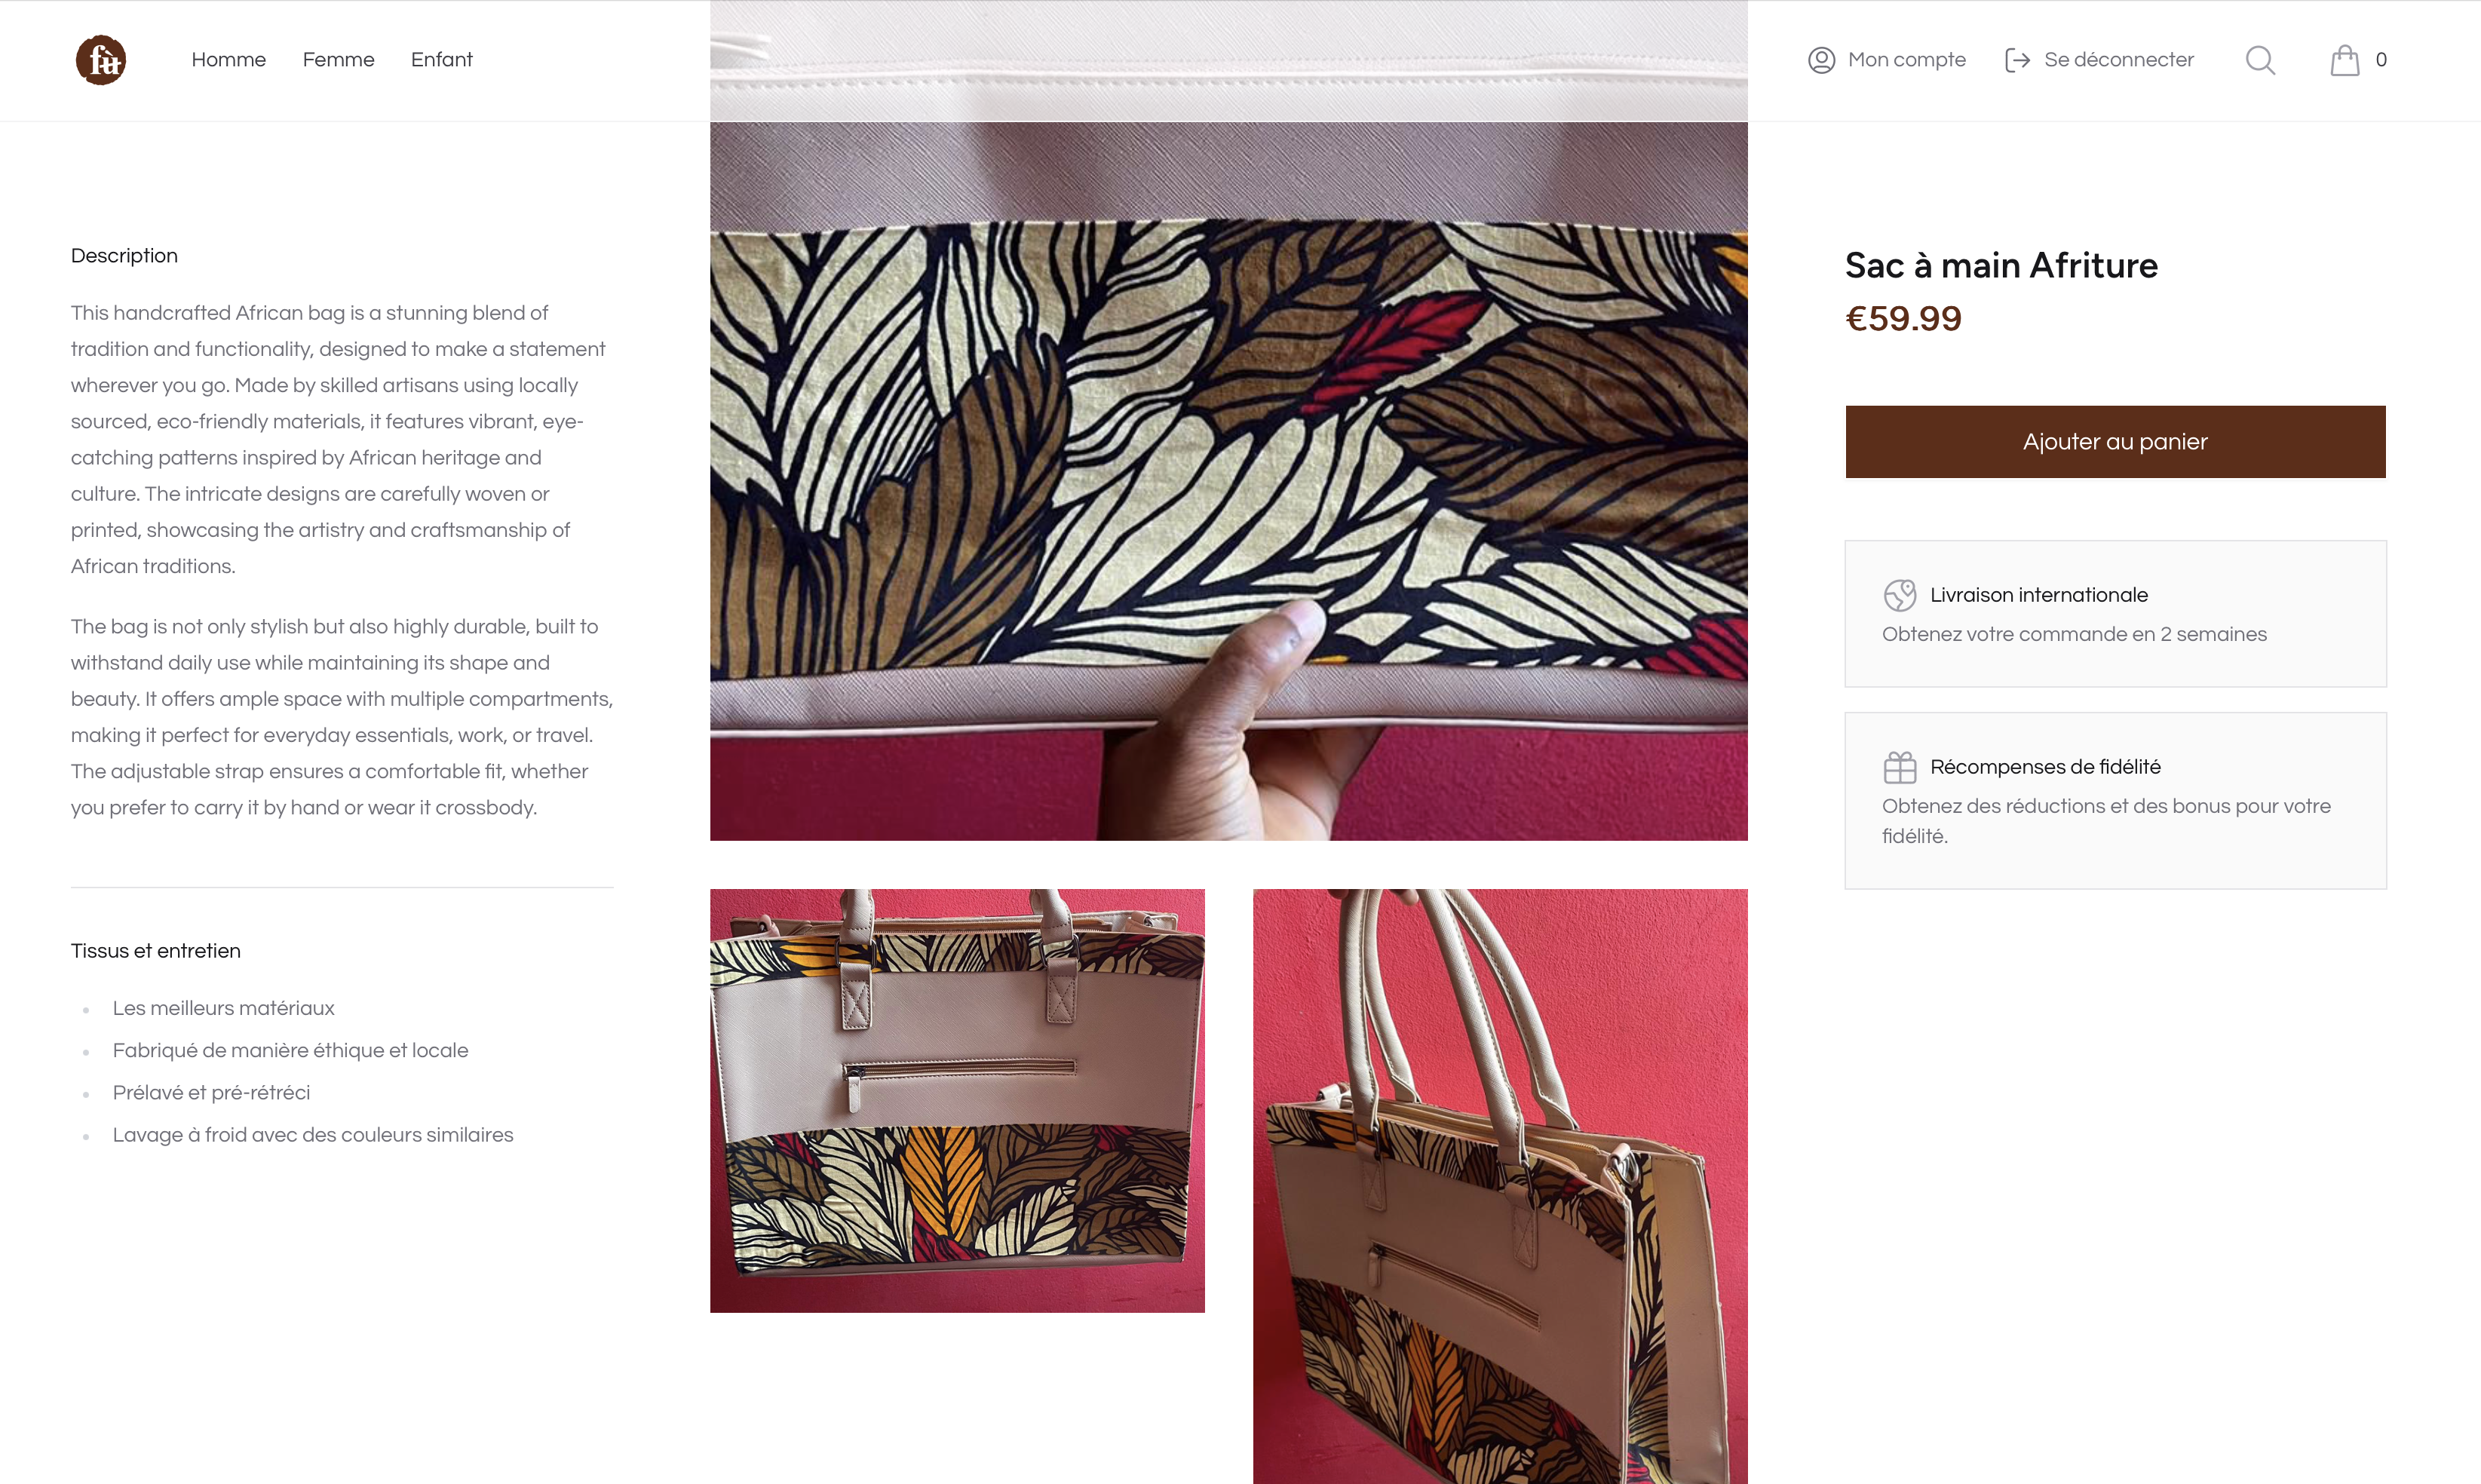
Product details
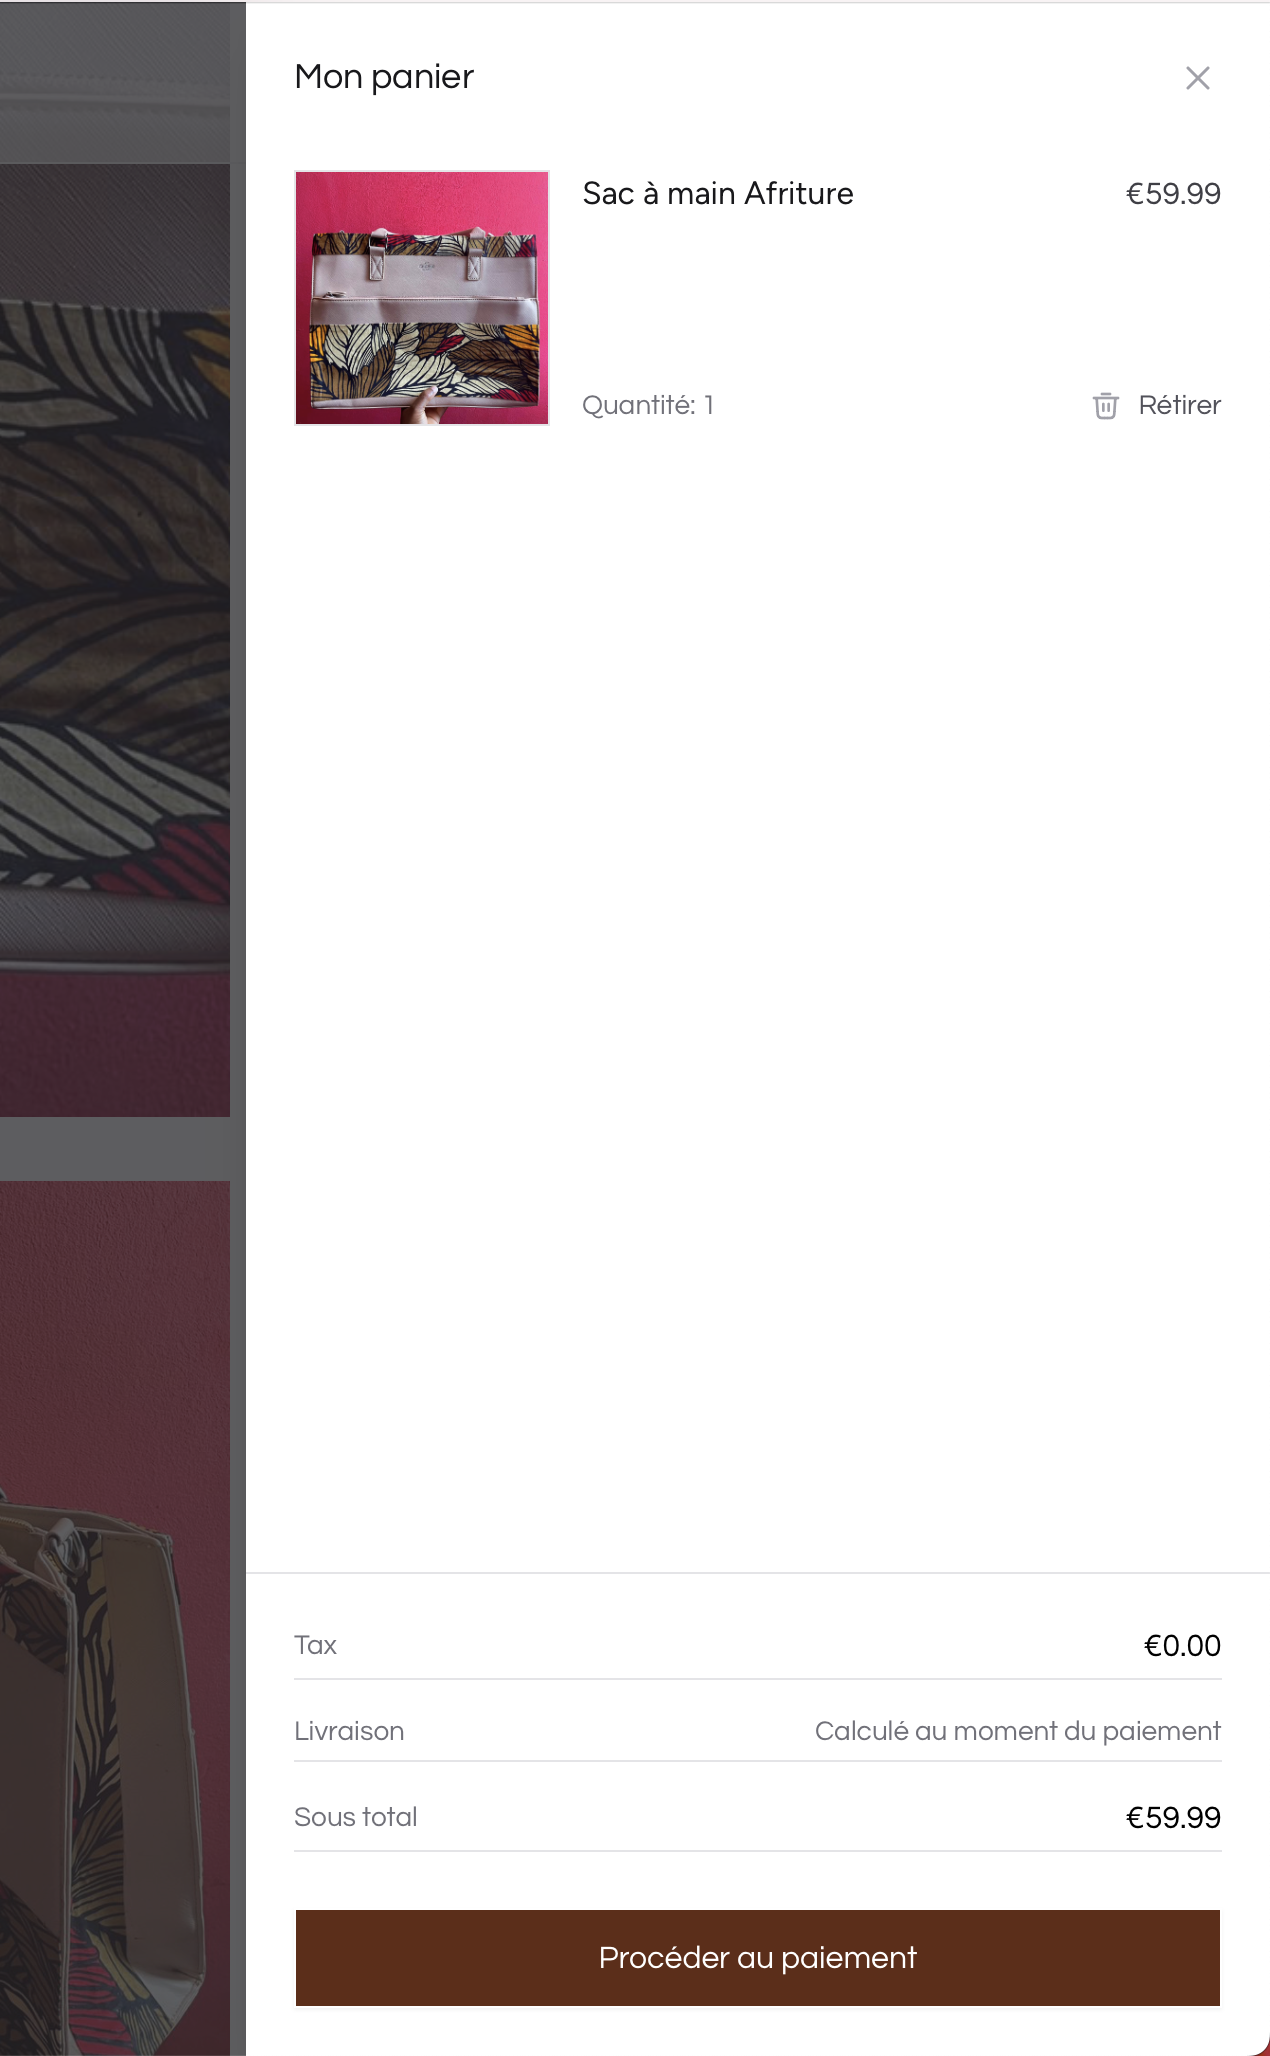
Shopping cart
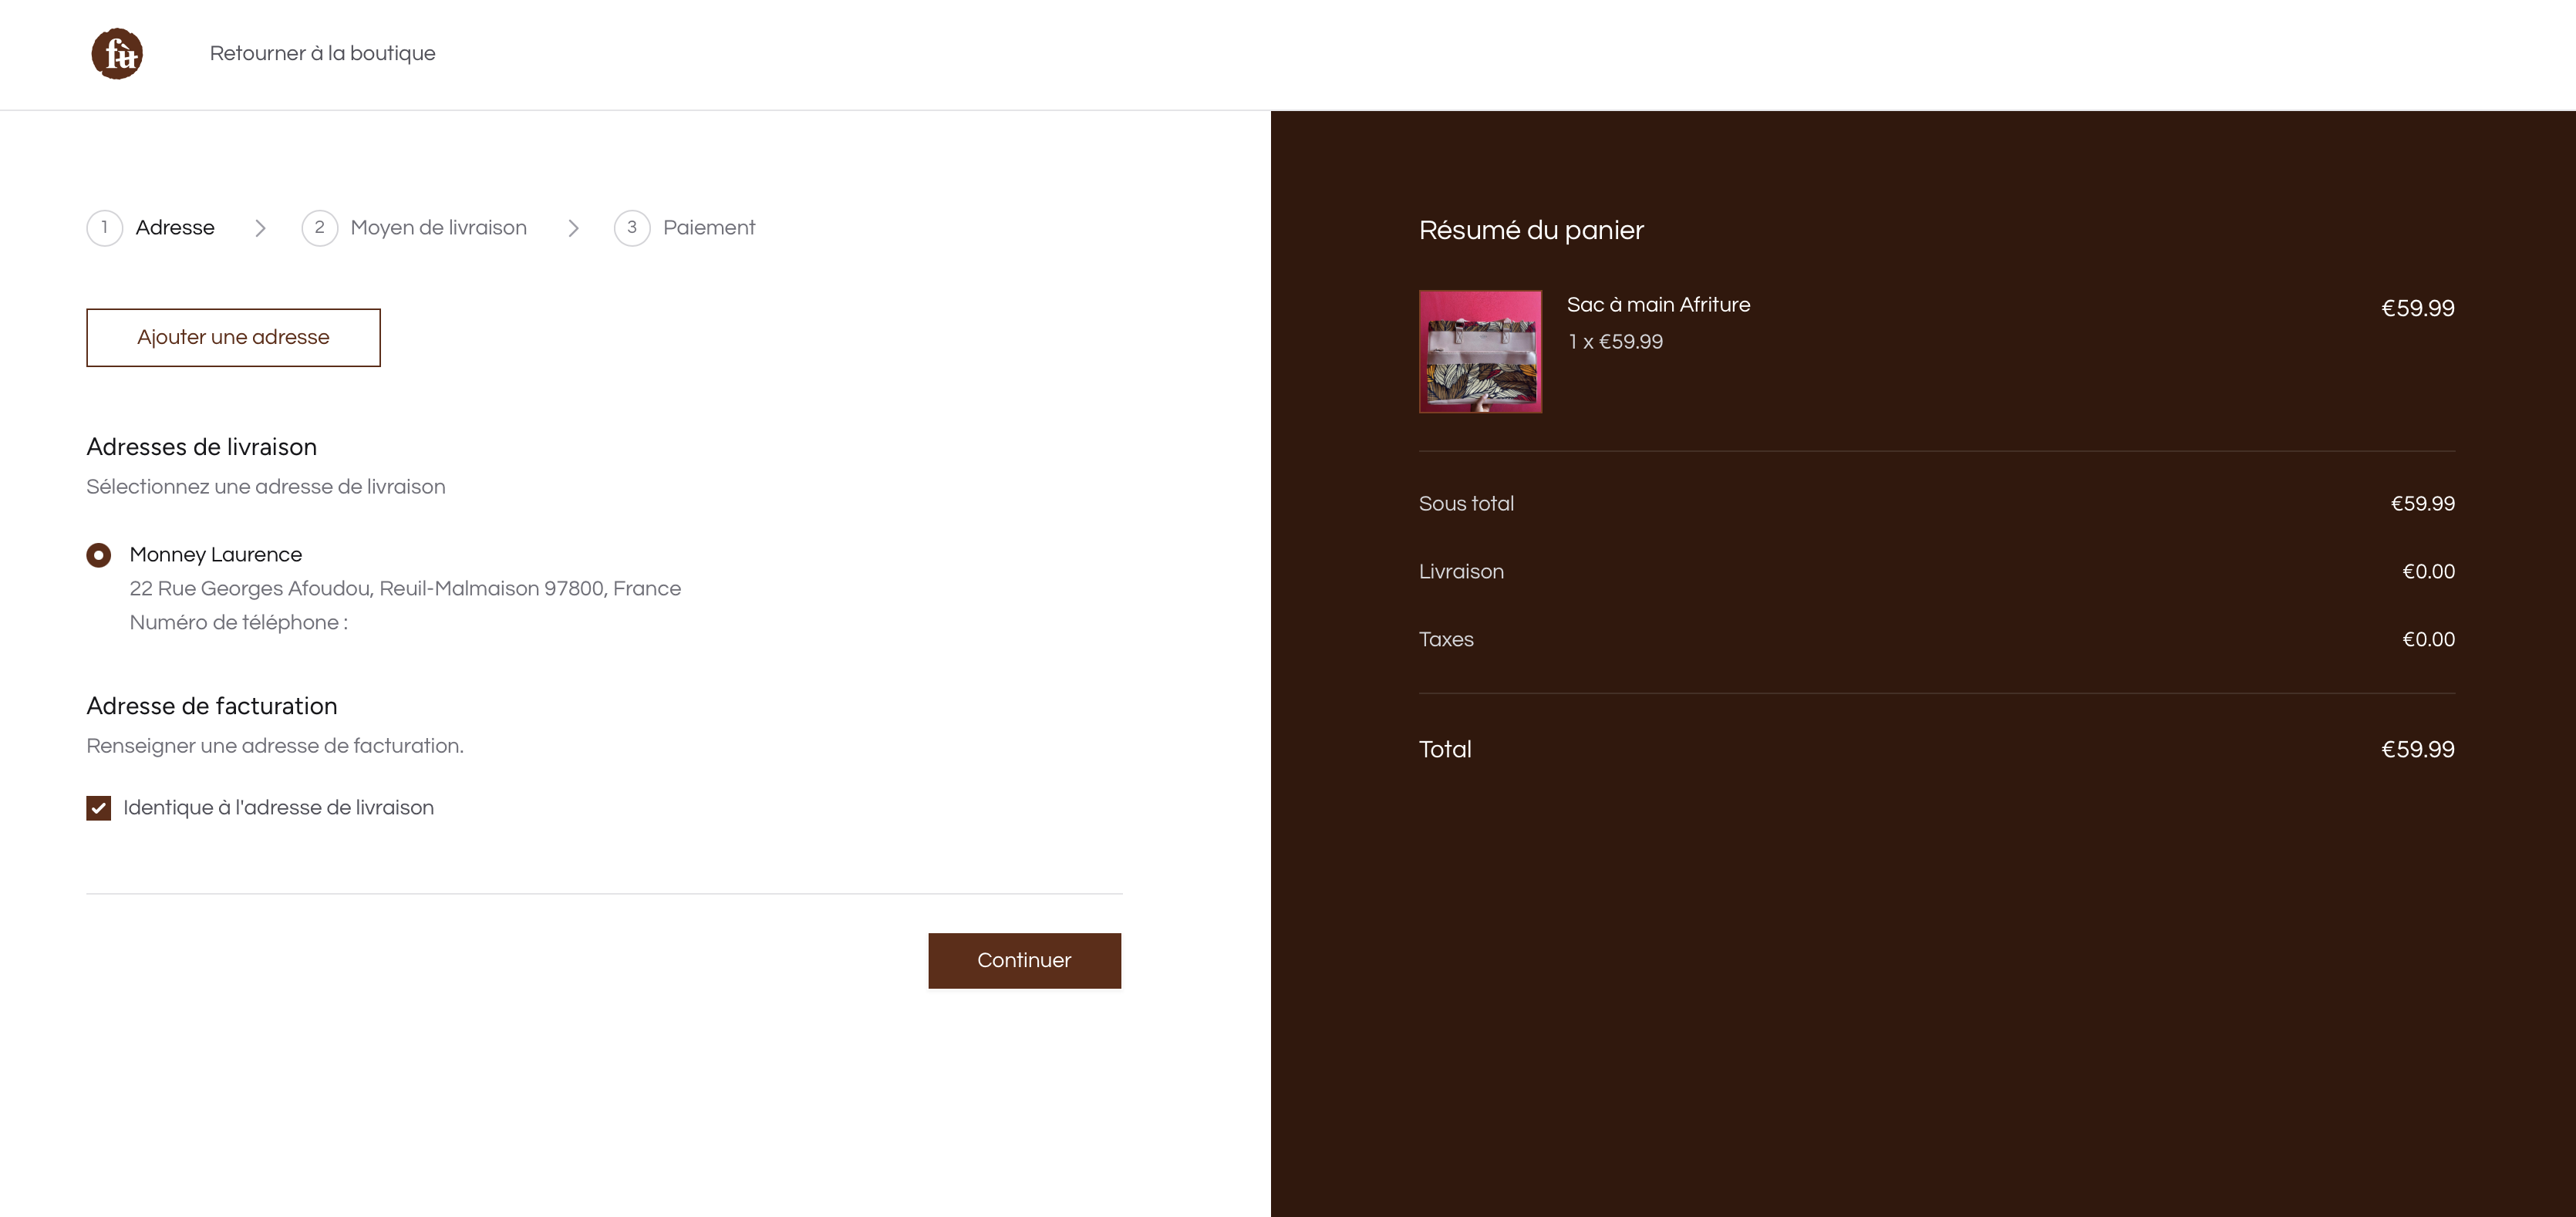
Checkout billing address

Checkout shipping method
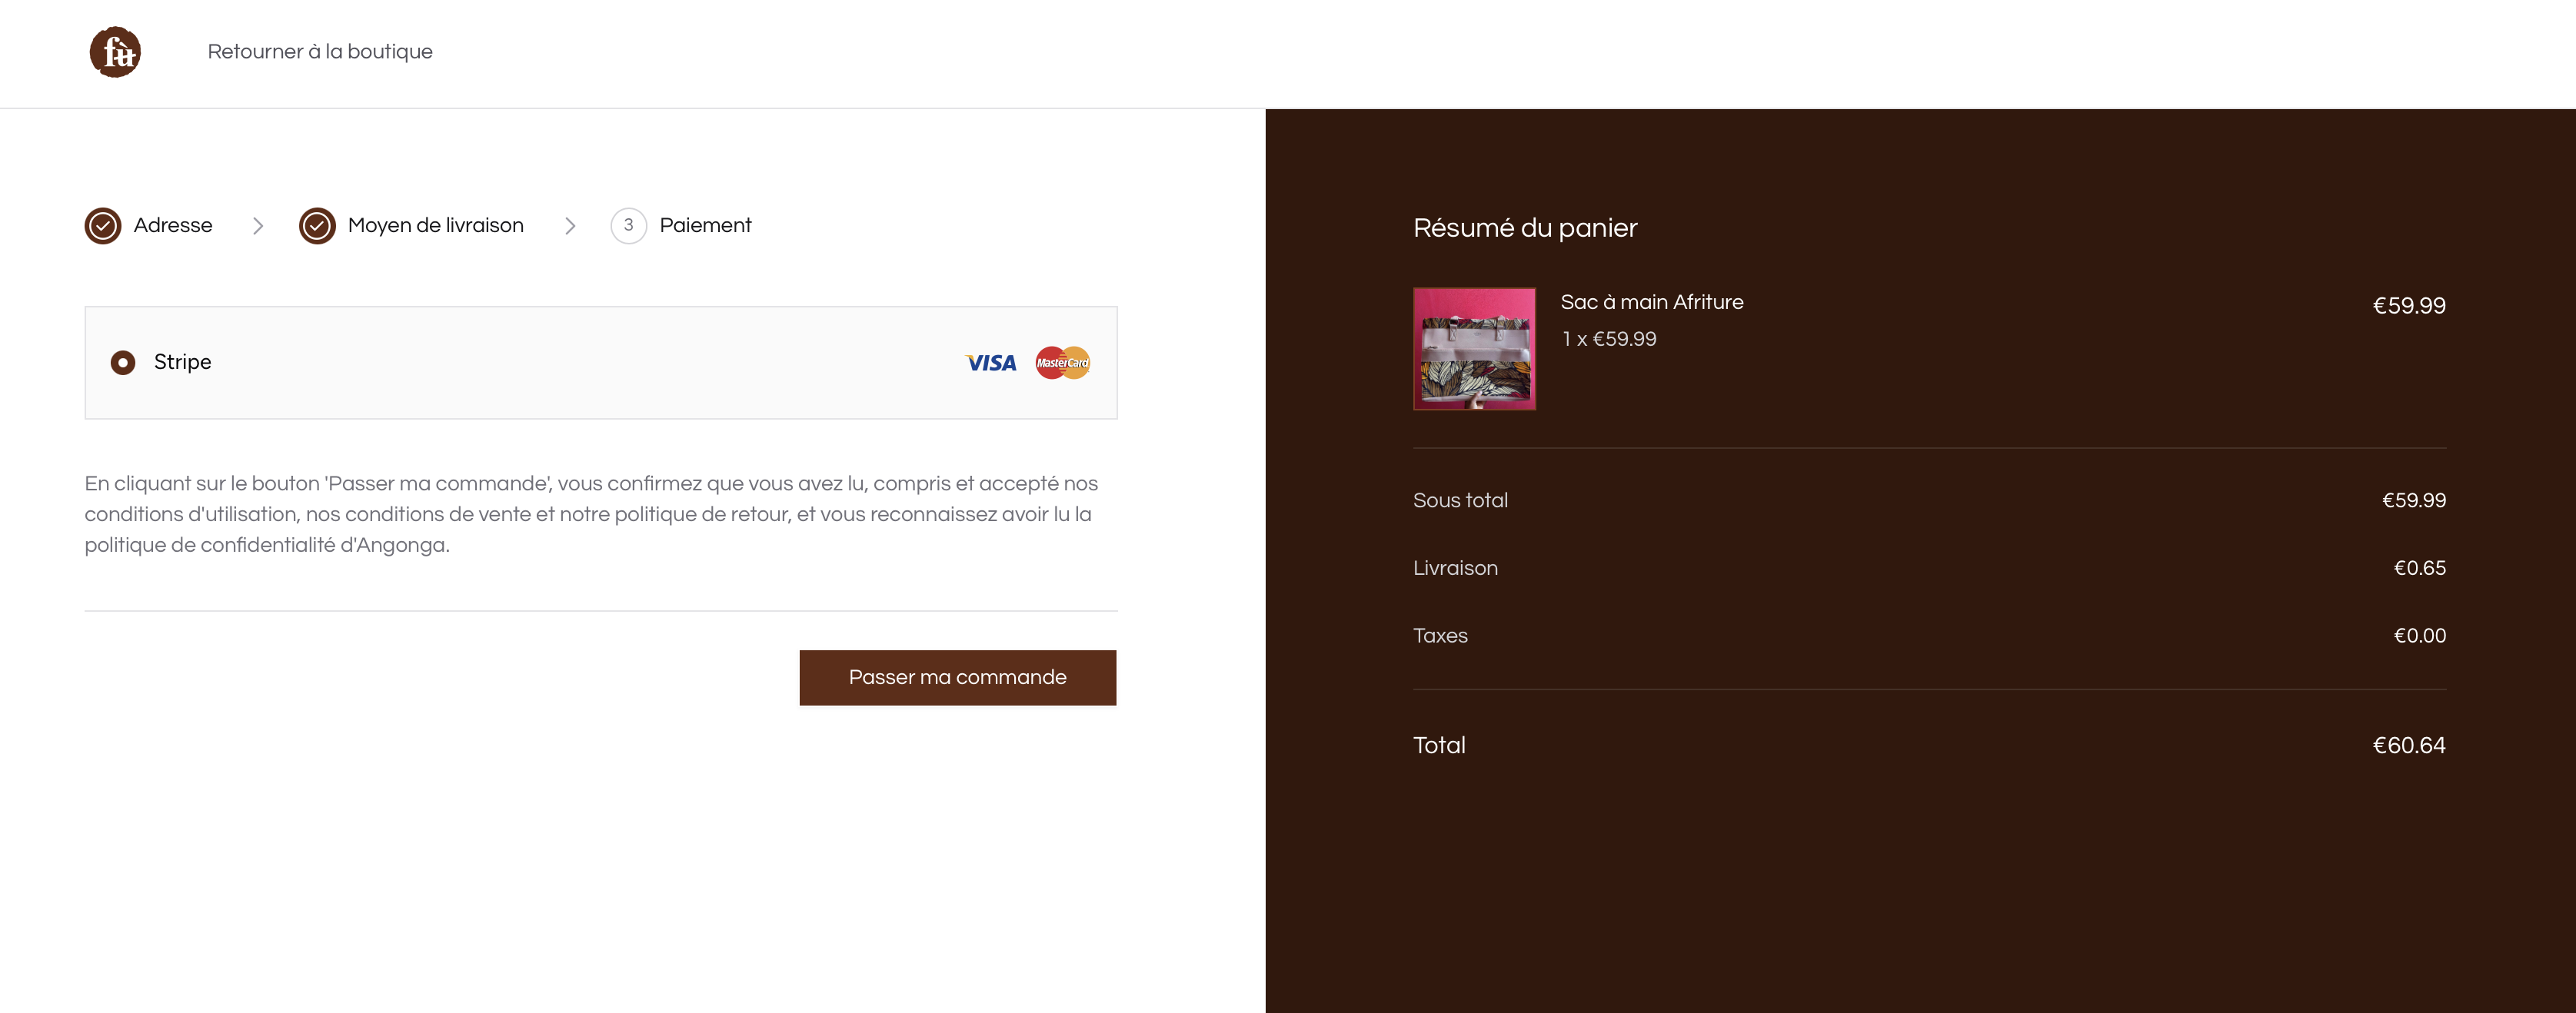
Checkout payment
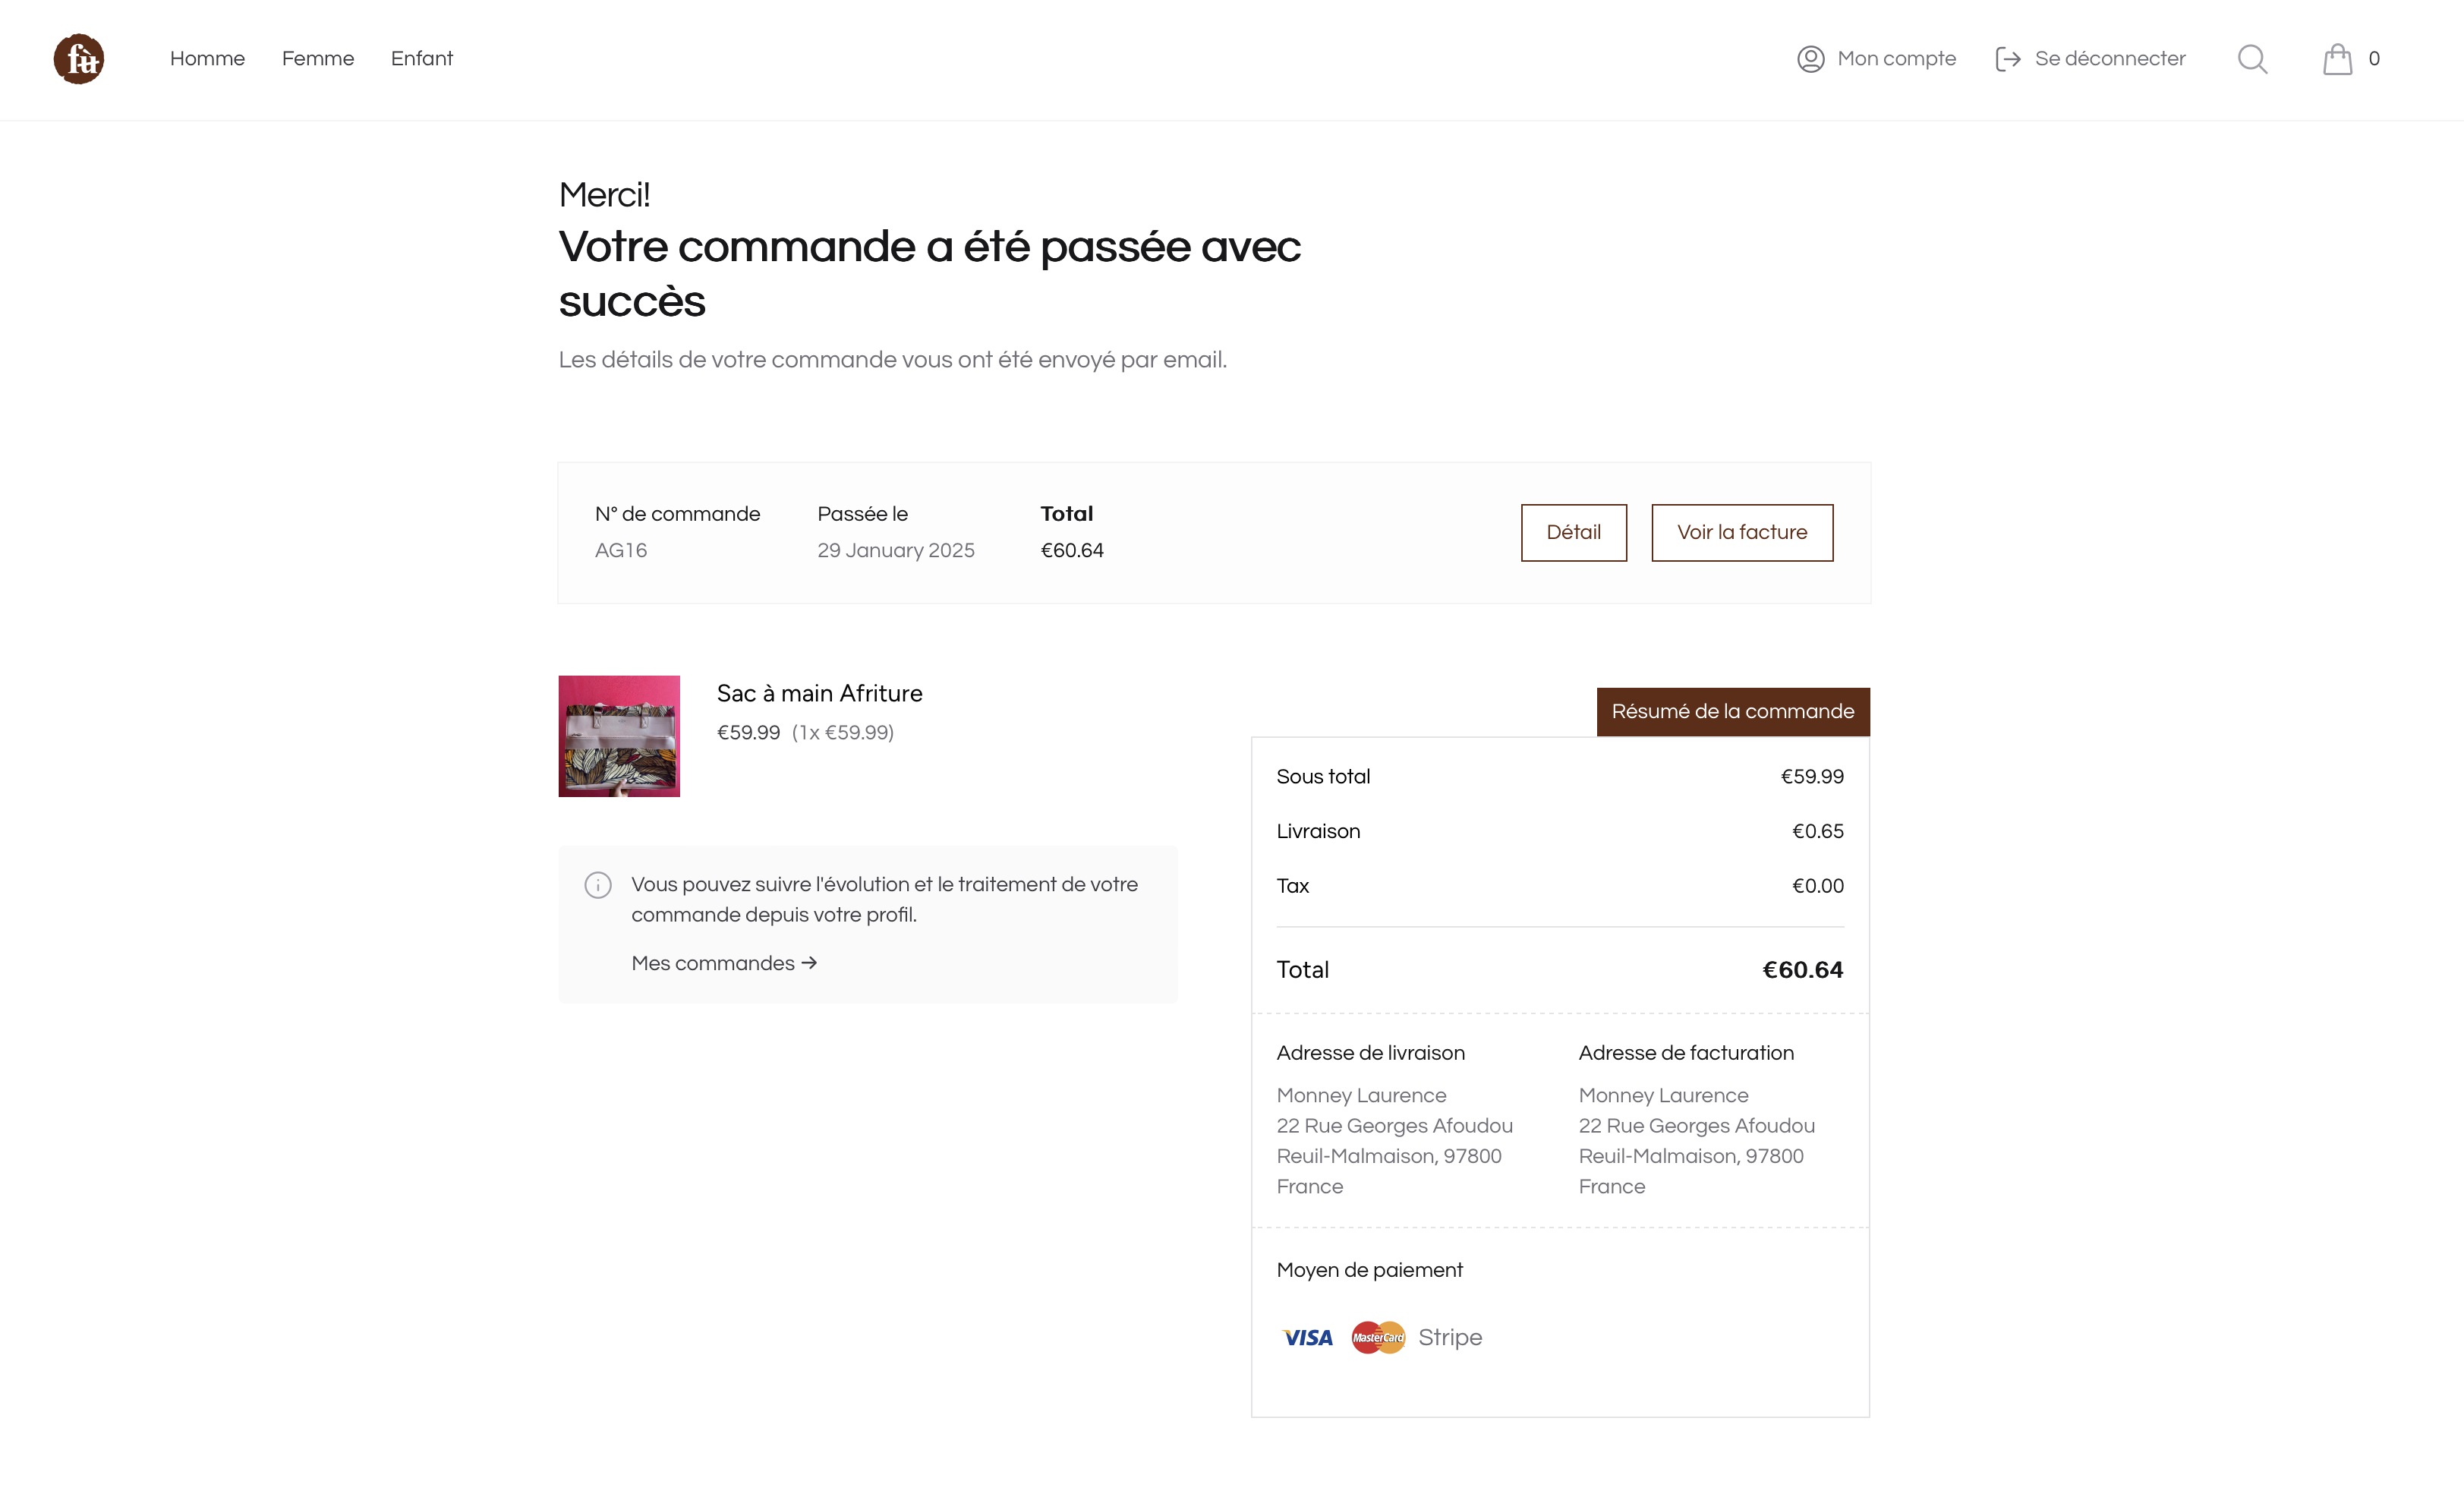
Order place

Orders List with zones
OrderItem
| Name | Type | Required | Notes |
|---|---|---|---|
id | autoinc | auto | |
name | string | no | The product name at the moment of buying |
sku | string | no | Unique, default value is generated using collection name |
product | morph | yes | morph relation generate product_id and product_type columns |
quantity | int | yes | Unique, default value is generated using collection name |
unit_price_amount | int | yes | Unique, default value is generated using collection name |
order_id | int | yes | int (Order object via the order relation) |
OrderAddress
| Name | Type | Required | Notes |
|---|---|---|---|
id | autoinc | auto | |
customer_id | int | yes | int (User object via the customer relation) |
last_name | string | yes | |
first_name | string | yes | |
first_name | string | yes | |
company | string | no | |
street_address | string | yes | |
street_address_plus | string | no | |
postal_code | string | yes | |
city | string | yes | |
phone | string | yes | |
country_name | string | no | The country name |
OrderRefund
| Name | Type | Required | Notes |
|---|---|---|---|
id | autoinc | auto | |
reason | string | no | The reason of the refund |
amount | int | yes | The amount to refund |
currency | string | yes | |
status | string | yes | [OrderRefundStatus](#enums-types) Enum value |
notes | string | no | Other notes for the refund: by the administrator |
order_id | int | yes | int (Order object via the order relation) |
user_id | int | no | int (User object via the customer relation) |
OrderShipping
| Name | Type | Required | Notes |
|---|---|---|---|
id | autoinc | auto | |
shipped_at | datetime | yes | |
received_at | datetime | no | |
returned_at | datetime | no | |
tracking_number | string | no | |
tracking_url | string | no | |
voucher | json | no | |
order_id | int | yes | int (Order object via the order relation) |
carrier_id | int | no | int (Carrier object via the carrier relation) Eg: DHL, UPS, etc |